The Ledger Nano S is one of the most used physical wallet on the market and provides great security. When you own crypto, what you really own is a private key. You need to secure it to secure your funds. Ledger offers the best level of protection: your key remains protected in a certified secure chip Ledger Nano S.
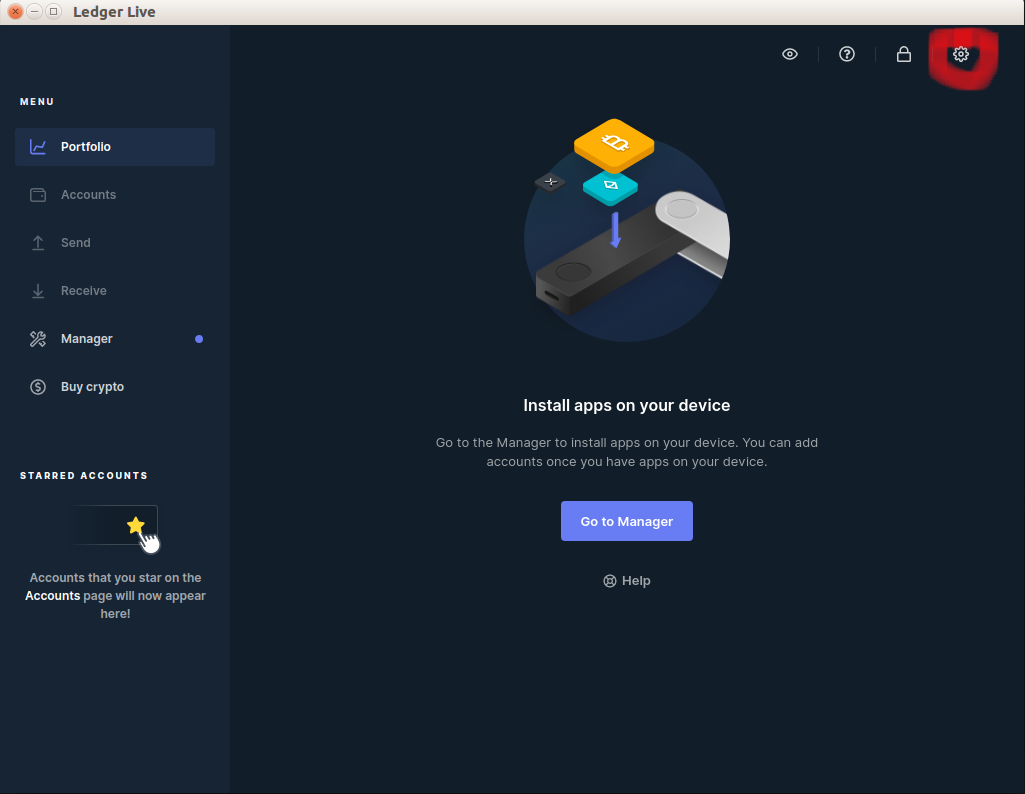
The first thing you have to do is to install the Ledger manager. To do this, download Ledger Live.
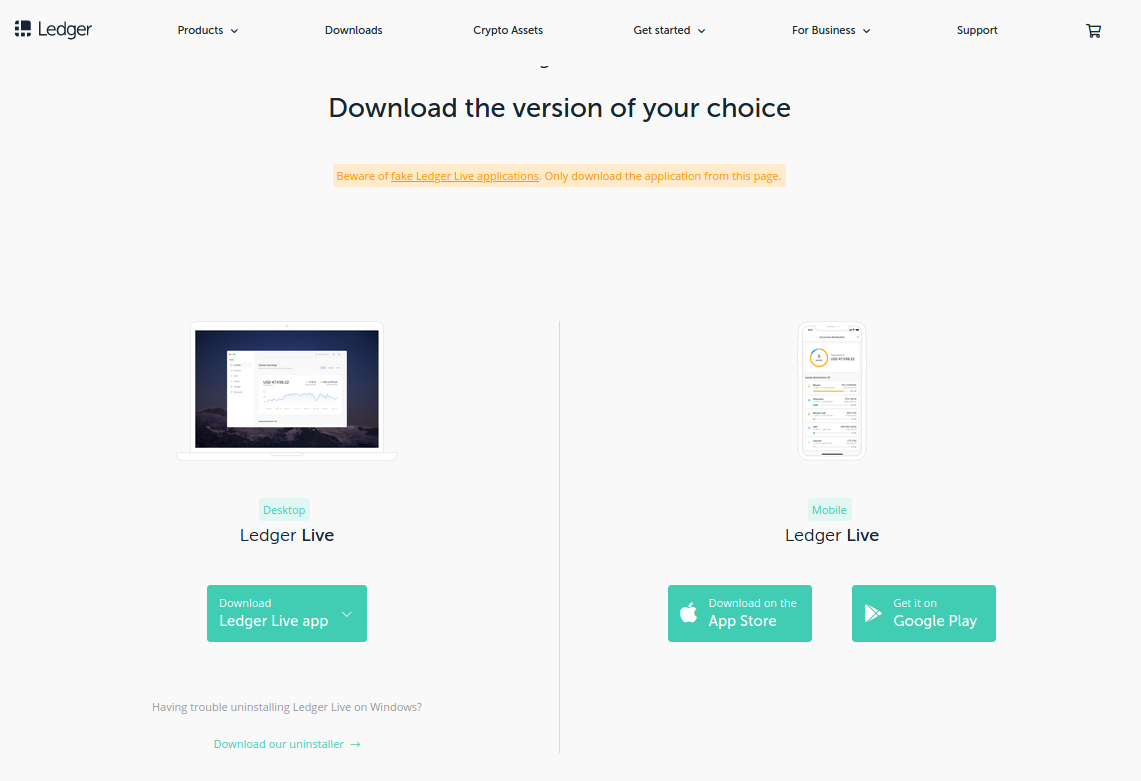
Then open Ledger Live on your computer and follow the installation steps. If you already had a Ledger Nano wallet, you can restore it.
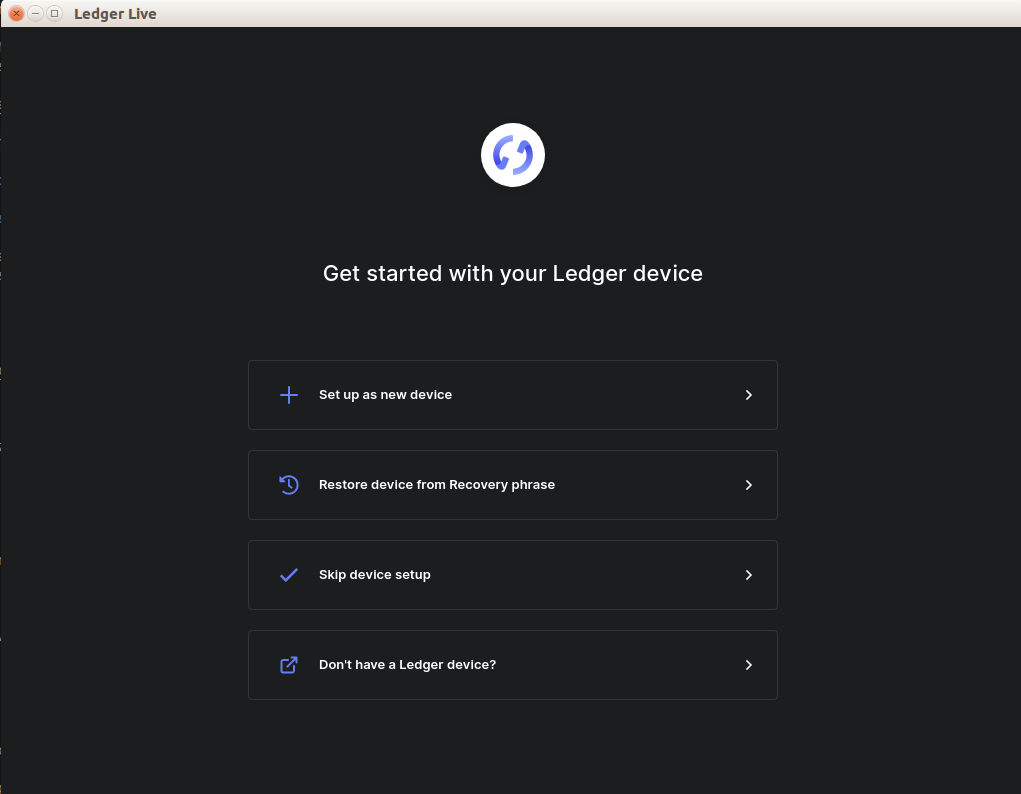
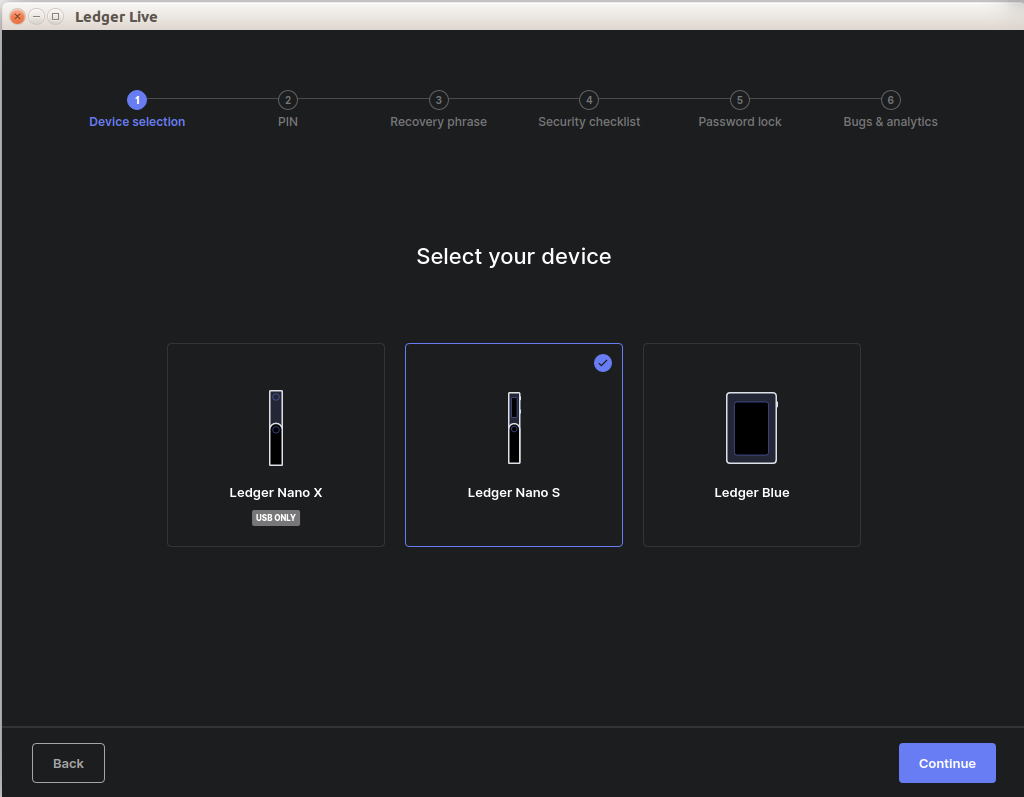
Click "Set up as new device" and select Nano S.
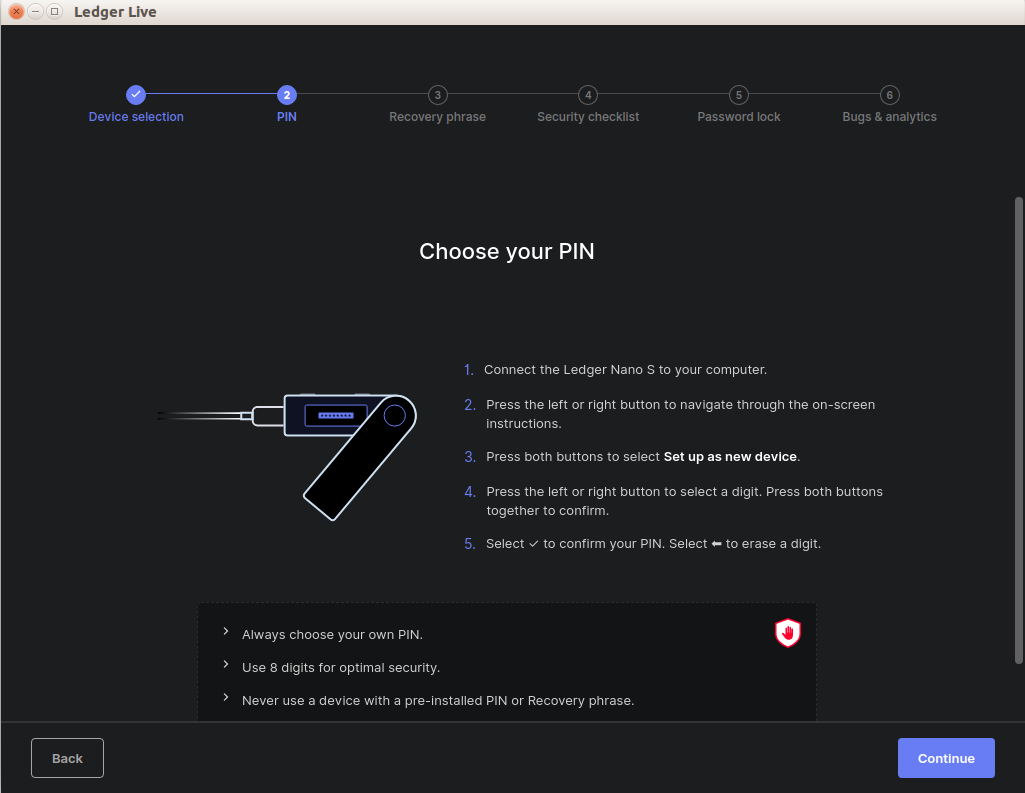
Set up a PIN code and save the 24-word recovery phrase offline, not on your computer.
In case you are unable to complete the security check on Ubuntu, restart the application as root and try again.
sudo ./ledger-live-desktop-2.10.0-linux-x86_64.AppImage --no-sandbox
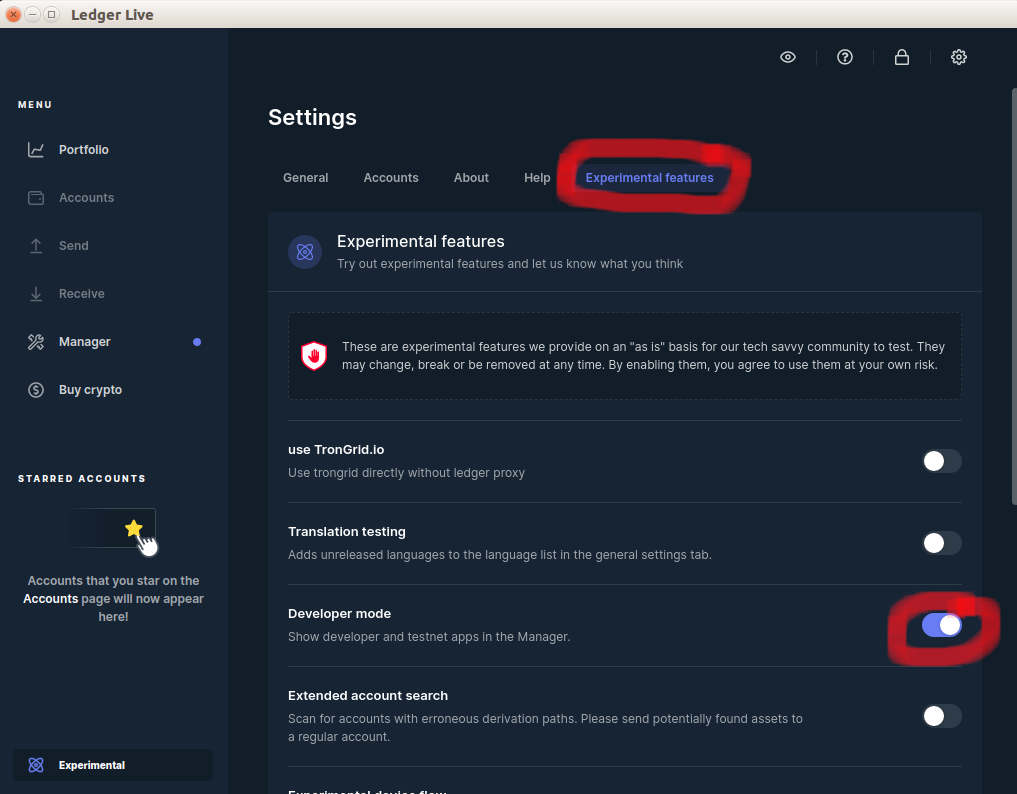
near app on Ledger Nano SNow we are going to use Leger Live and install near app! The first step you have to do is to go to Settings and enable Developer mode in the Experimental features section:
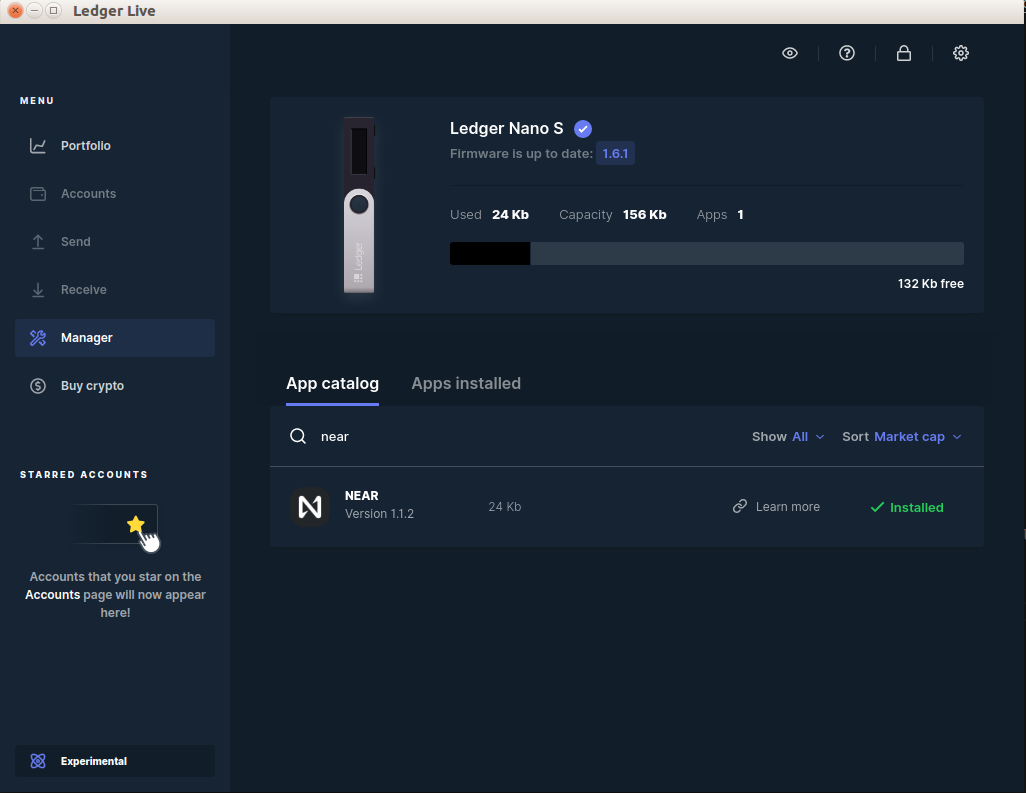
Now go to Manager in the side menu, search for near in the App Catalog and install it.
Open your browser.
sudo -H -u username google-chrome
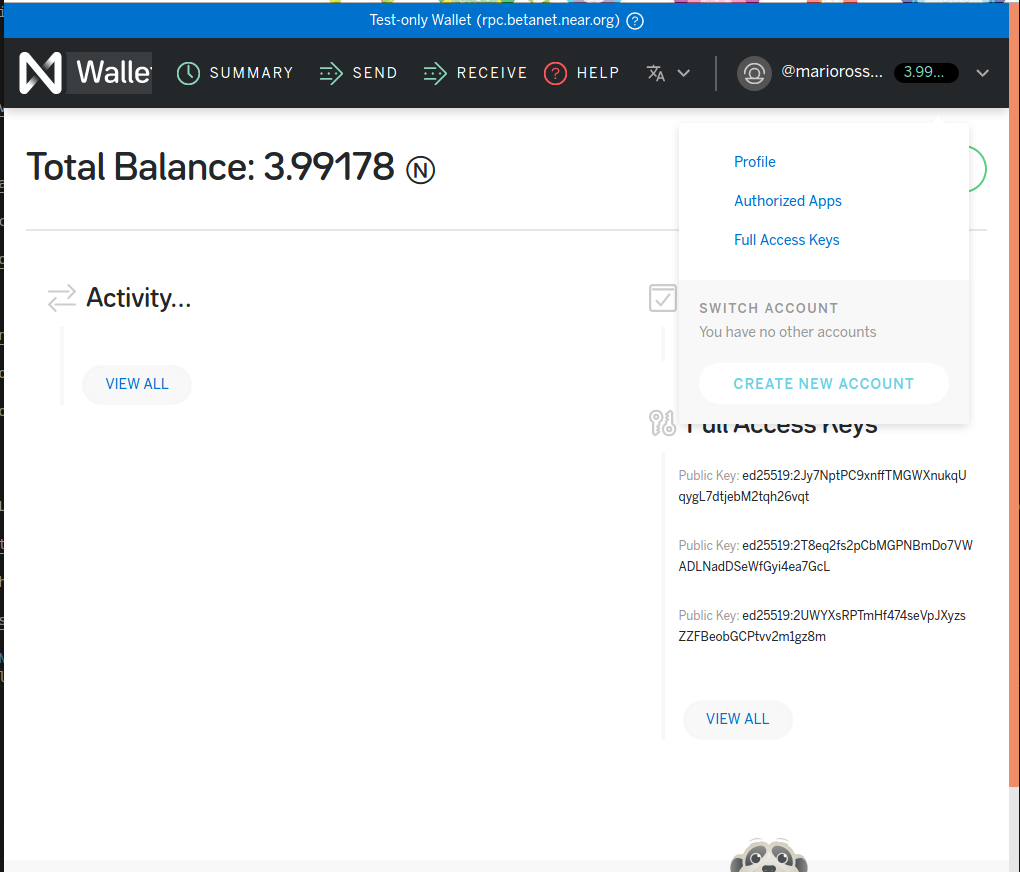
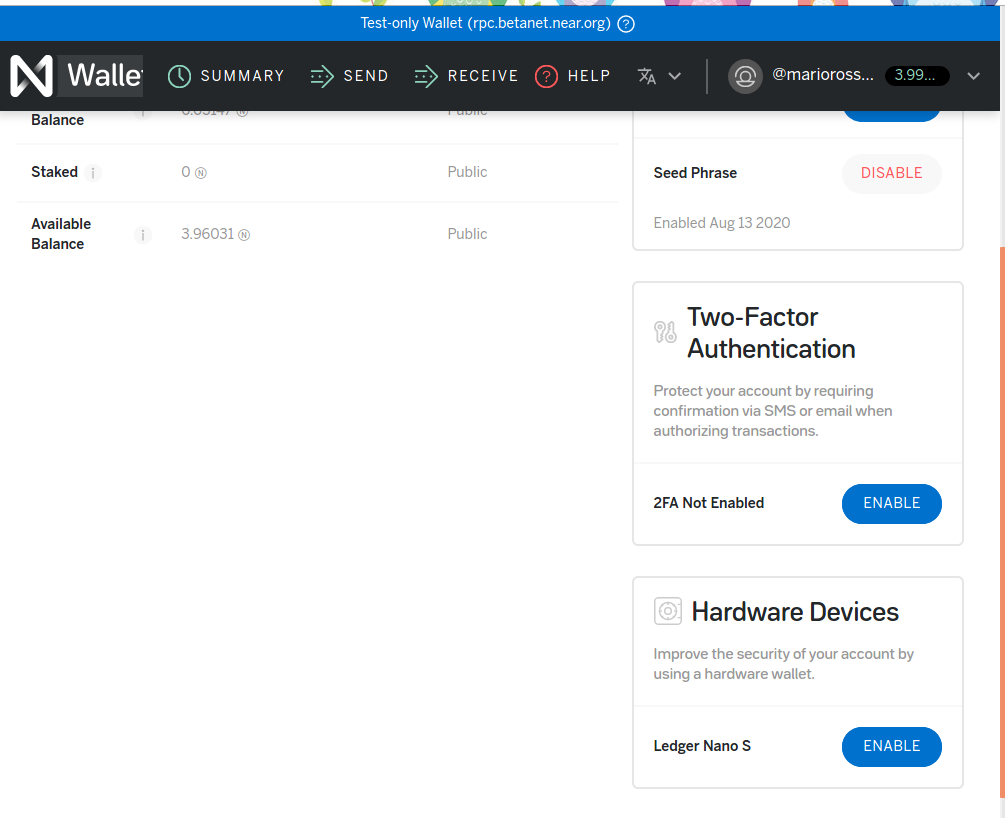
Now access your Near wallet, click on your username and then click on "Profile":
Afterwards, at the bottom of the page, click on ENABLE under Hardware Devices:
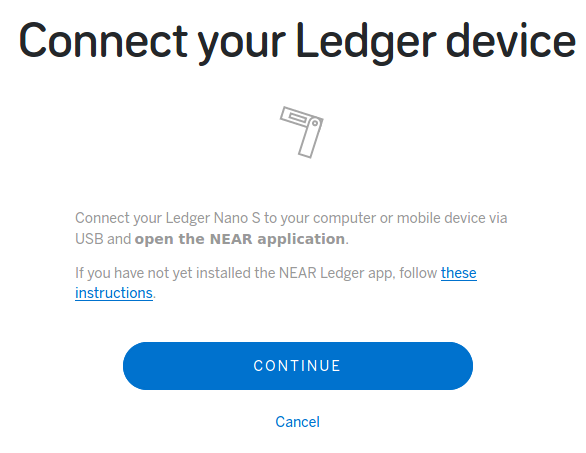
It will ask you to connect your Ledger by clicking Continue. It is important that when connecting the Near app in Ledger you simultaneously hit the two buttons above once you have entered the Near app (this allows you to skip the initial message and enter the app). During the process, always pay attention to the Nano S display.
When connecting, your Ledger will ask you to confirm the key and once confirmed, the following will appear:
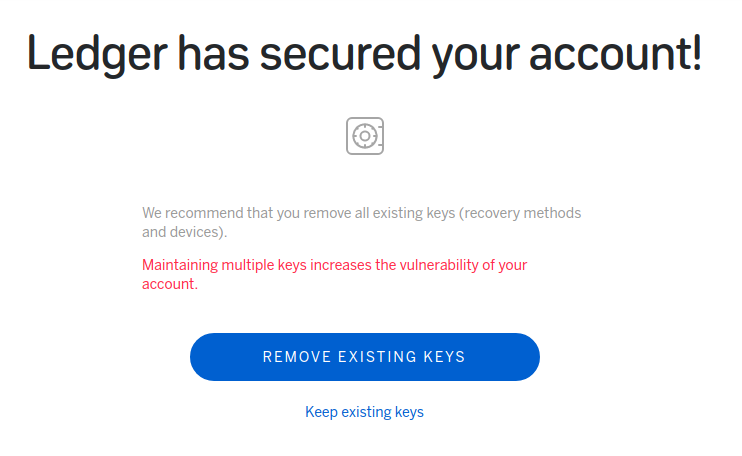
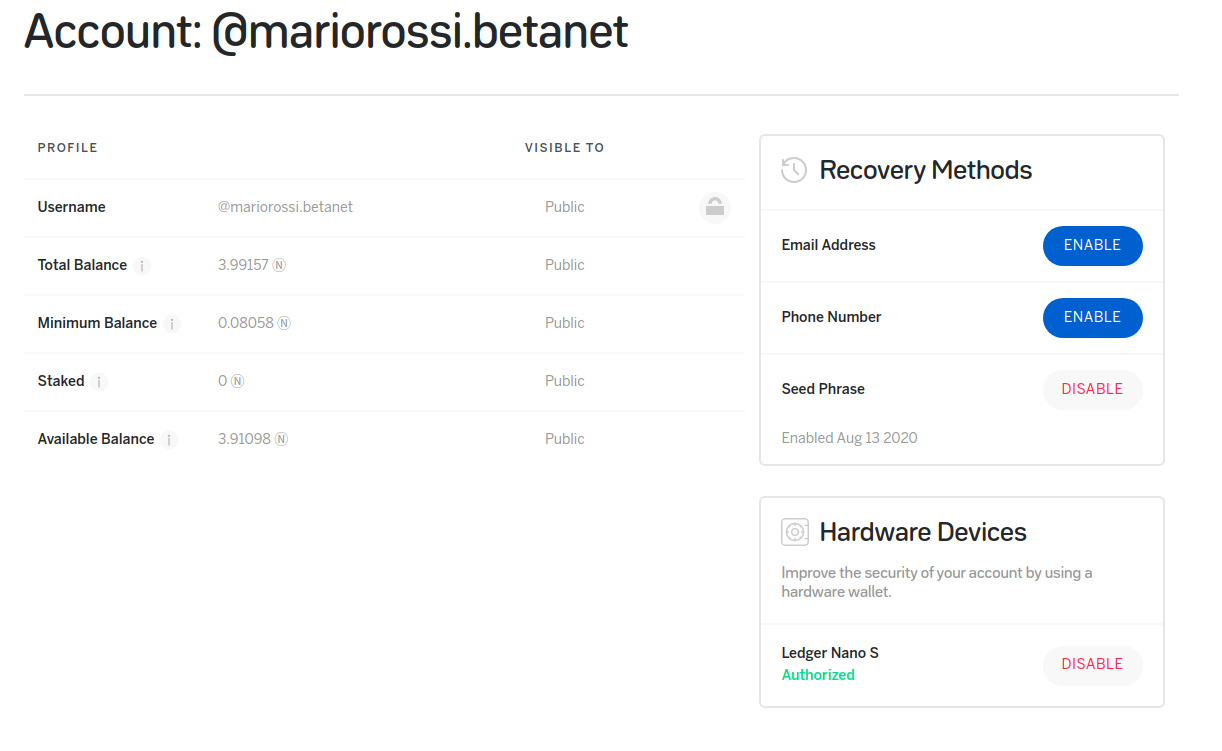
I personally chose to keep existing keys. At the end, the following will appear:
near cliFrom near cli run near login. Following the straight-forward instructions you can now sign in with the Ledger. You'll have to confirm this on the device. The following message will appear:
DANGER: THIS GIVES FULL ACCESS TO A DEVICE OTHER THAN LEDGER.
Now you can stake, unstake, and use other near cli commands.